Azure Mobile Service deployment with Team City part 1. Team City Installation
Tags: Azure, Powershell, TeamCity
In these series of blog posts I will explain how to host a TeamCity server on an Azure Virtual Machine, configure it and create TeamCity configuration to build and deploy an Azure Mobile Service.
Azure Mobile Service deployment with Team City part 1. Team City Installation (this article)
Azure Mobile Service deployment with Team City part 2. Configure TeamCity NuGet Server
Azure Mobile Service deployment with Team City part 4. Deploying Azure Mobile Services
Azure Mobile Service deployment with Team City part 5. Configuring Mobile in TeamCity
Azure Mobile Service deployment with Team City part 6. Integrate SpecFlow with TeamCity
Azure Mobile Service deployment with Team City part 7. Deployment to Test environment
Recently Azure introduced a new concept for Mobile Services – Mobile App. You can access it in the Azure Preview Portal. This blog explains Azure Mobile Services which can be accessed at Azure Management Portal. The reason for doing this is that the Mobile App is still in preview and for the current Mobile Service Microsoft doesn’t provide an easy way of doing continuous deployment. The only way you can deploy it is by using Visual Studio. There are no API either for Azure PowerShell or for Command Line Interface.
I will use Azure Preview Portal every time apart from the time when there are operations which I can’t do using it. In this case I will use Azure Management Portal.
All the examples and UI screenshots are based on TeamCity version 9.0.4.
These series will walk you through all the steps from zero to a fully working Continuous Integration and Deployment on Dev and Test environment.
Creating an Azure Virtual Machine
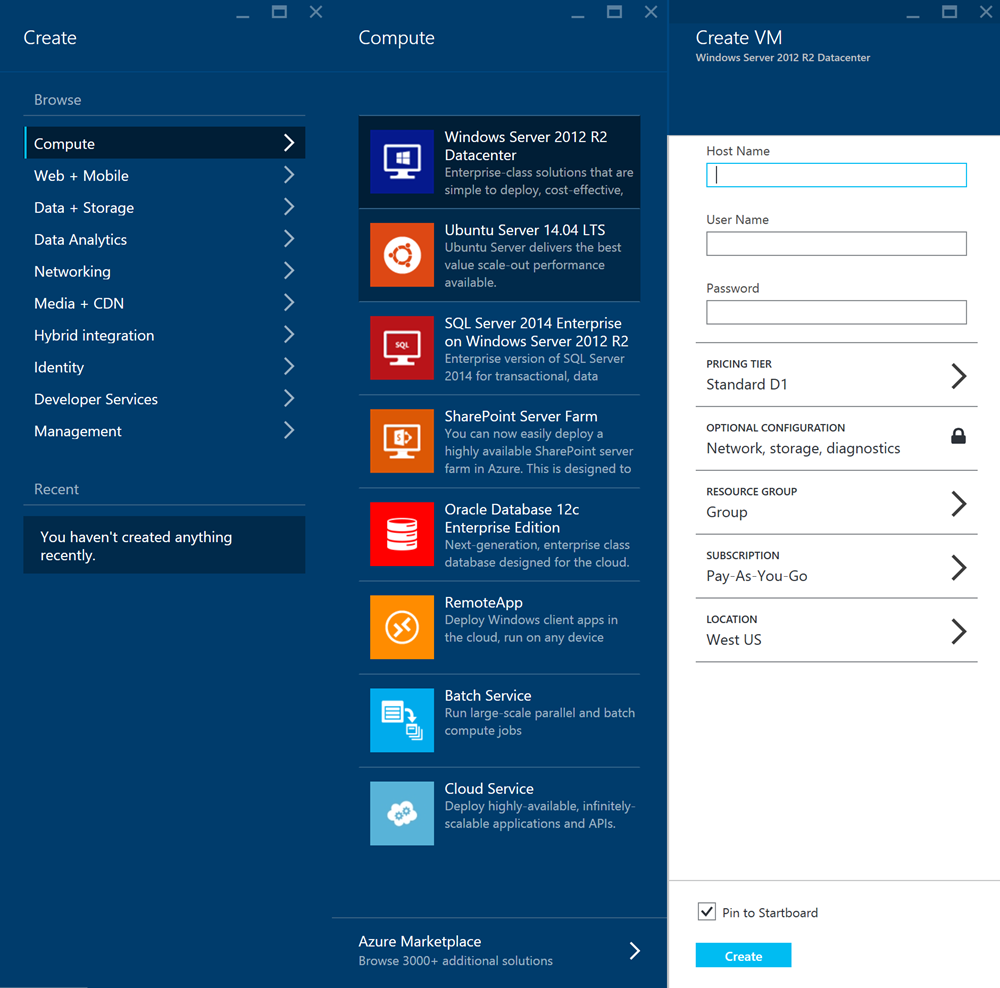
Open the Azure Preview Portal and click the “+” button, select Compute and from the list select Windows Server 2012 R2 Datacenter.
Provide all the details on the opened blade.
- Host Name – name of your VM.
- User Name – user name you’ll use to log in to the Remote Machine
- Password – password to be used to log into the Remote Machine
- Pricing Tier – select the size of your machine. Check the prices on this page: http://azure.microsoft.com/en-gb/pricing/details/virtual-machines. The cheapest machine is Basic Tier A0. Even if you do this as a PoC this machine is not powerful enough. You’ll spend too much time waiting for the installation of TeamCity and the machine will be too slow. Basic A1 is OK but I would recommend Basic A2. You can start with that and later you can upgrade the machine.
- Resource Group – this is a container to help you manage a set of resources, like provisioning them. In this I will create a new Resource Group
- Subscription – select your subscription
- Location – choose a location, preferably the same location where all your services are
Click Create and after less than 10 minutes you’ll have the machine up and running.
TeamCity Installation
After the machine was provisioned, on the Azure Management Portal open the new created VM instance and click on the Connect button. As it stands now, if you download the Remote Desktop Connection file from the Azure Preview Portal you’ll have to enter the machine name manually.
It will download a Remote Desktop Connection file. Double click the file and then enter the user name and password you provided when you created the VM. After you’ve logged in, open the Internet Explorer and download TeamCity.
Now let’s install TeamCity on that VM. I will skip the obvious steps where you need to accept license, etc.
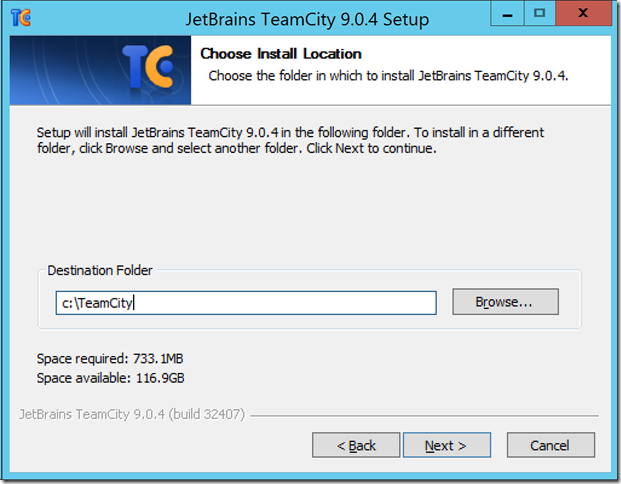
TeamCity installation directory – this is where the TeamCity server is installed. It will contain the TeamCity configuration, binaries. I will keep the default value c:\TeamCity
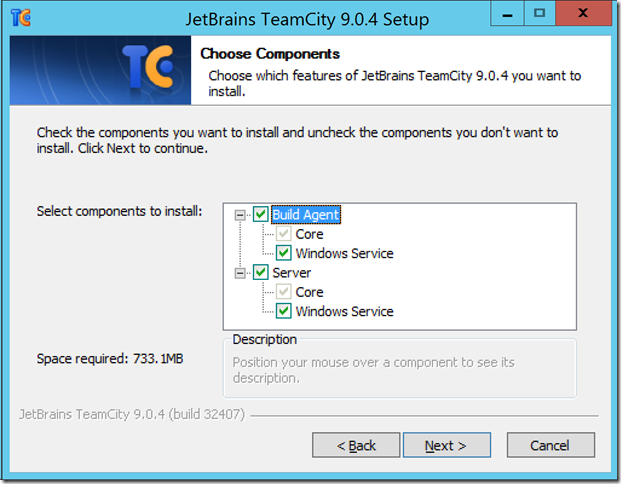
On the next step we’ll install all the components.
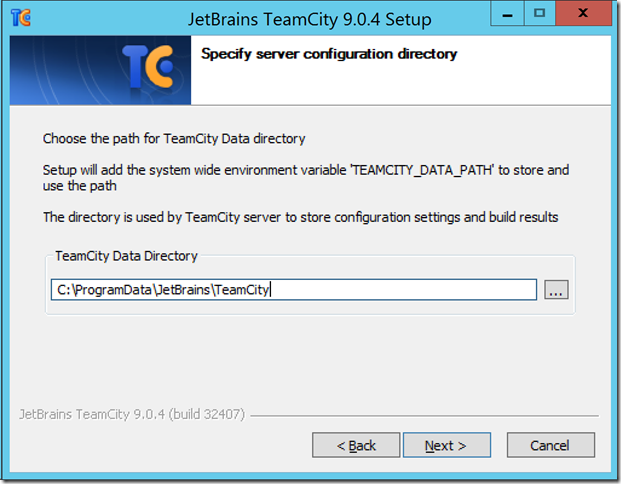
Next is the TeamCity Data Directory. It is important to select the right Data Directory location. TeamCity stores configuration settings, artifacts, build logs, etc. By default it stores all the configuration settings. It is recommended that you configure TeamCity to store all the configuration settings in the Database. Do make sure you backup this folder regularly. Due to the fact that Data Directory stores all the build logs and artifacts and can grow very large it is recommended to select a non-system disk. For the sake of this demo I will leave the default value: C:\ProgramData\JetBrains\TeamCity
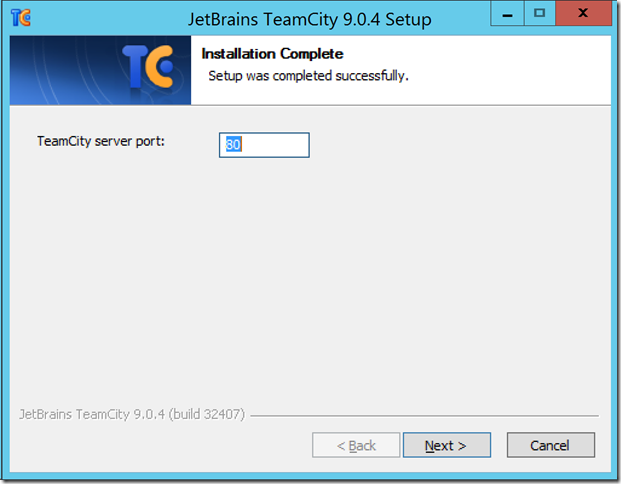
Will keep the default port 80
The TeamCity server installation is now finished.
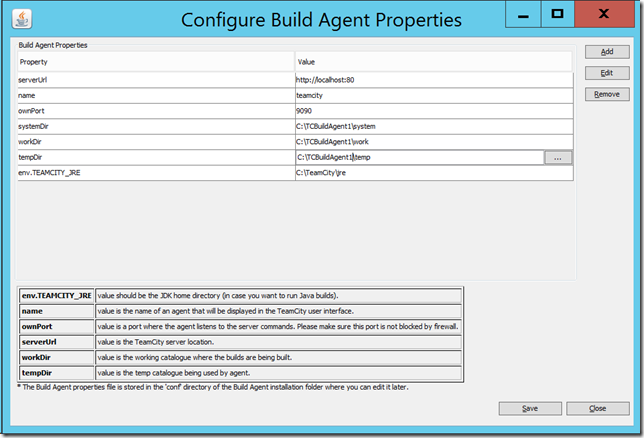
Next we’ll configure the Build Agent.
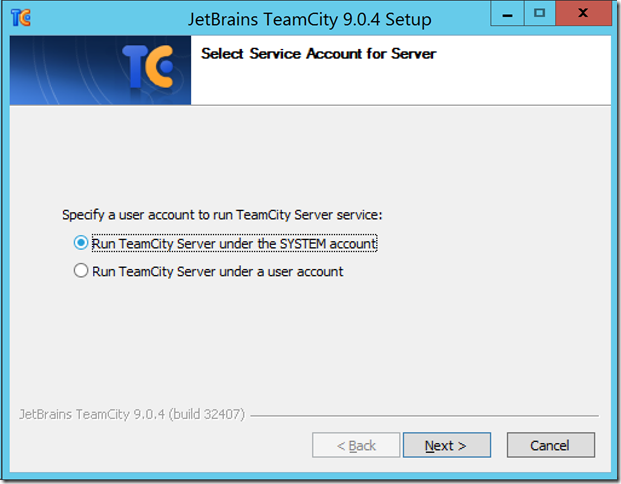
I will use System Account to run TeamCity but you might want to select a user account with less privileges.
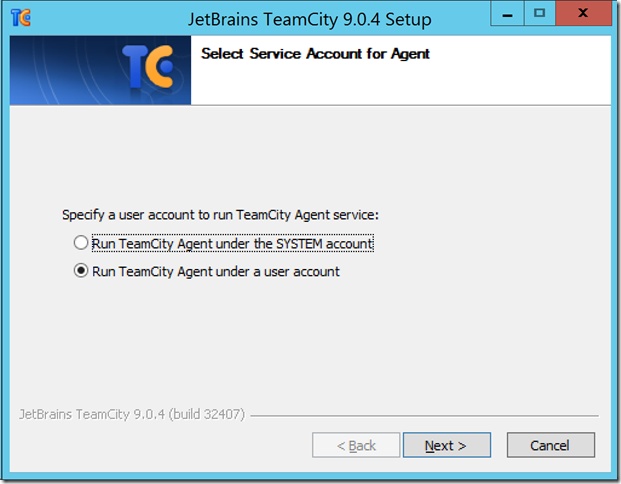
For the Agent we’ll select a user account. I will explain the reason for that later. Select the account you used to log into VM or if you want you can create a new one.
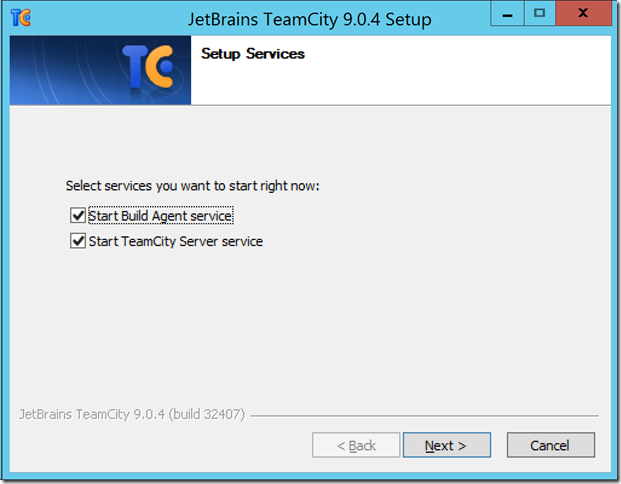
And will start all the services.
After clicking the Next button it will finish the configuration, start the services and open the default page: http://localhost. Click on the Proceed button and next select the data base type. I will select Internal (HSQLDB) for the sake of this tutorial but in your case it depends on the type of server. If you just want to try things out and are not worried about losing configurations use HSQLDB, otherwise you’ll need a separate database. Depending on which type you select you’ll have more configuration to enter. Click Proceed and wait till TeamCity is starting up. Accept the license agreement and click Continue.
TeamCity will ask you to create an administrator account. Enter the user name and password and click Create Account.
Configure TeamCity to be accessible from web
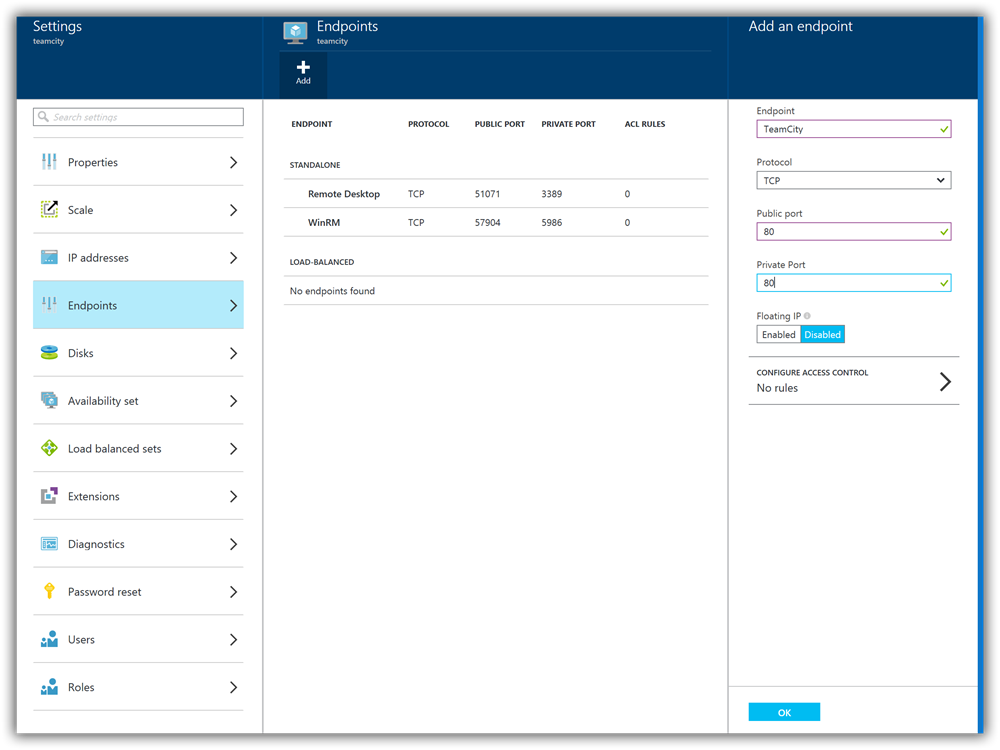
Now that TeamCity is up and running there a few steps to be done to be able to access TeamCity from the web. First we need to setup an endpoint to direct inbound traffic to the TeamCity VM. Open the VM in Azure Preview Portal, select All settings and click on the Endpoints. Provide a name, select TCP from the Protocol list, and enter public and private ports. I used 80 for both. The public port is used by Azure load balancer. The private port is used by the VM to listen for the incoming traffic. It should have the same value we set when installed TeamCity.
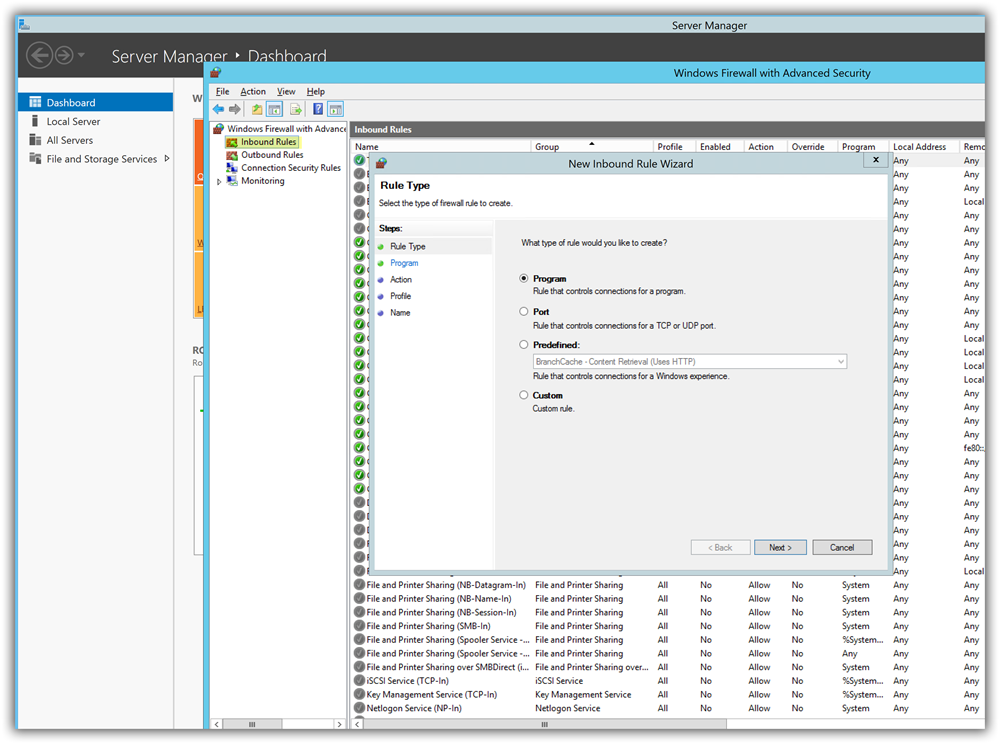
We need to configure TeamCity VM firewall to allow incoming traffic for the TCP protocol and private port corresponding to the endpoint configuration. Remote into the VM and open Server Manager > Tools > Windows Firewall with Advanced Security. Select the Inbound Rules, right click and click “New Rule…” Select Port, TCP rule and port number. It should be the same port you used when you installed TeamCity and private port for endpoint configuration. Allow for All connections and give it a name.
Now fire up your browser and you should be able to open TeamCity login page. If you are not sure what’s the name of the TeamCity VM go to the Azure Preview Portal and check the DNS name in the Essentials area.
This finishes TeamCity installation and configuration. In the next part we’ll create TeamCity build configuration and configure a NuGet Server.
